
Boost your listing views, engage buyers, and stand out in the private sale market.
Creating a DIY property video is one of the most effective marketing strategies when selling your home privately. On platforms like No Agent Property, Realestate.com.au, and Domain, listings with videos receive significantly higher engagement, especially from remote and interstate buyers.This step-by-step guide will show you how to film a compelling property video using your smartphone, optimise it for real estate websites, and maximise its visual appeal with the correct aspect ratio (16:9).
How to Film a DIY Property Video for Your No Agent Property Listing
Boost your listing views, engage buyers, and stand out in the private sale market.
Creating a DIY property video is one of the most effective marketing strategies when selling your home privately. On platforms like No Agent Property, Realestate.com.au, and Domain, listings with videos receive significantly higher engagement, especially from remote and interstate buyers.
This step-by-step guide will show you how to film a compelling property video using your smartphone, optimise it for real estate websites, and maximise its visual appeal with the correct aspect ratio (16:9).
Why Video Matters for Private Property Sellers
- Attracts more views and keeps buyers engaged longer.
- Gives a better sense of space, layout, and flow — especially useful when photos can’t show everything.
- Helps buyers connect emotionally with your property.
- Improves your listing’s performance across search engines and major portals.
- Reinforces trust and transparency in DIY property sales.
What You’ll Need
- A modern smartphone capable of 1080p or 4K video recording (preferred).
- A steady hand or tripod.
- Good natural lighting (film during the day).
- Clean, decluttered spaces.
- Optional: gimbal or wide-angle lens attachment.
Set the Right Video Settings Before You Start
- Use a 16:9 aspect ratio (landscape mode) — this is the standard for real estate and social media platforms.
- Set your resolution to 1080p or 4K for maximum clarity.
- Turn off filters and enhancements — clean, realistic footage looks best.
How to Film a High-Quality DIY Real Estate Video
1. Start from the Street or Front Gate
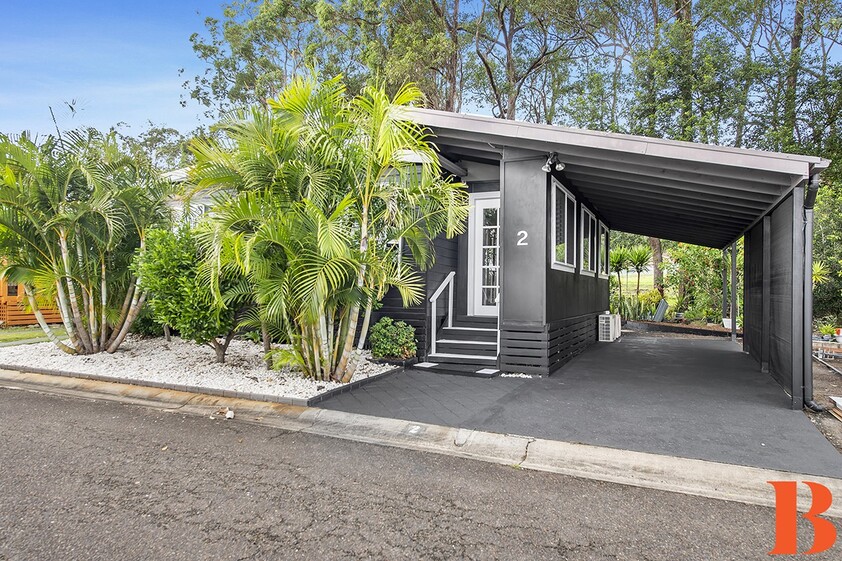
Open with a slow pan of the street and exterior. Walk toward the front door, capturing the curb appeal and entrance.
🎙 Optional intro: “Hi, welcome to 34 Smith Street – a modern 3-bedroom family home right in the heart of Mornington.”
2. Room-by-Room Walkthrough
Go room by room: living, kitchen, bedrooms, bathrooms, then outdoor areas.
- Tips:
- Keep the phone steady and move slowly.
- Film in wide-angle when possible.
- Pan left to right, pausing at key features.
3. Pause Between Rooms
You don’t need to film in one continuous take. After filming a room, pause the video, return to the hallway or transition point, then resume filming the next area. This gives your video a clean and natural flow.
4. Highlight Selling Points
Show close-ups of standout features like stone benchtops, walk-in robes, ducted air conditioning, built-in speakers, and skylights.
5. Add Local Lifestyle Clips (Optional)
Film short 10-second shots of nearby parks, cafés, or shopping precincts to highlight the local lifestyle and location value.
Editing Tools (Optional but Useful)
If you’d like to trim clips, add music, or stitch your footage together, try these free tools:
- Clipchamp — browser-based, easy for beginners.
- CapCut — mobile-friendly, ideal for quick edits.
Add royalty-free music or text captions if desired.
How to Submit or Share Your Video
Option 1: Upload to Cloud Storage
Upload your finished video to Dropbox, Google Drive, or YouTube, then send us the link.
Option 2: Use YouTube
Upload your video as Unlisted or Private, copy the video link, and email it to your No Agent Property manager. We’ll embed it into your listing for you.
Option 3: Upload Through Your Seller Dashboard
Once logged in to your No Agent Property account, you can add media directly to your listing — or email [email protected] and include your property address or ID.
Final Tips to Maximise Impact
- Film in landscape (16:9) mode — essential for full-screen playback.
- Use natural light and avoid filming at night.
- Declutter each room before filming.
- Minimise background noise — turn off TVs, radios, and fans.
- Keep the video between 1.5 and 3 minutes.
- Avoid filming people or pets for a cleaner, more professional result.
Frequently Asked Questions (FAQs)
Do I need a professional camera or editing software?
Not at all. A modern smartphone and free apps like Clipchamp or CapCut are all you need.
Why is 16:9 the best video format?
Realestate.com.au and Domain display property videos in 16:9 widescreen. This format fills the viewer’s screen and creates a more polished and immersive experience.
Can I upload my video to YouTube?
Yes, we recommend uploading your video as Unlisted or Private, then sharing the link with us for embedding.
Can I film room-by-room and stitch it later?
Absolutely. Pause between rooms and use editing tools to stitch or trim as needed. It’s often better than trying to get everything in one continuous take.
Will my video show on real estate websites?
Yes. Your video will be added to your ad on NoAgentProperty.com.au and will also appear in the media gallery on Realestate.com.au and Domain where supported.
Can you help me with video editing?
Yes — if you’re not confident, we can create a free video slideshow from your photos or enhance your video presentation. We also work with trusted professionals who can help produce a more polished result.
Boost Your Exposure with Smart Video Marketing
Adding a video walkthrough to your property listing is one of the best ways to increase engagement, get more enquiries, and help your listing appear in more searches and on video-prioritised platforms.
Need Help?
📧 [email protected]
📞 Call: 1300 850 855
Thanks, from the No Agent Property Team